How to Plant a Tree the Right Way: A Step-by-Step Guide for Madison Homeowners
Planting a tree is more than just digging a hole and dropping in a sapling. It’s a commitment to your yard, your environment, and your future. When done right, tree planting brings lasting rewards: beauty, shade, privacy, cleaner air, and even increased property value.
If that sounds like a win-win, read on. We’ll walk you through how to plant a tree properly.
1. Choose the Right Tree and the Right Spot
Not every tree thrives in every location. Consider:
- Soil type
- Sunlight exposure
- Water availability
- Surrounding structures and plants
Also, think long-term. That small sapling will grow, and fast. Make sure there’s enough space for the tree’s mature height and width, especially in relation to nearby buildings, sidewalks, and overhead wires.
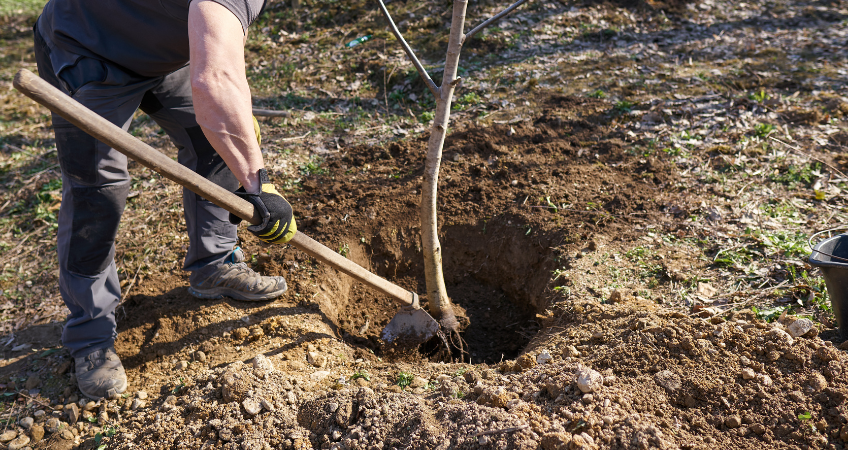
2. Dig a Hole That Sets the Tree Up for Success
Once you’ve chosen your site, it’s time to dig. The hole should be:
- As deep as the distance from the root flare to the bottom of the root ball
- Three times wider than the root ball
Use a screwdriver to probe the top of the root ball and measure where the structural roots begin. Save all the soil you remove, it will be used to backfill the hole.
If you’re adding mycorrhizae (beneficial fungi that support root growth), now’s the time.
3. Prepare the Roots for Planting
If your tree is balled and burlapped, remove as much of the wire and burlap as possible, these materials eventually degrade, but they slow down early root growth.
Also:
- Expose the root flare (the area where roots start to branch out from the trunk)
- Prune any girdling or encircling roots
- Clip off any small, adventitious roots at the collar
The root flare should sit 1–2 inches above soil level when you’re finished planting.
4. Backfill Gently, But Smartly
Refill the hole with your saved soil, being careful not to bury the root flare. Gently tamp the soil with your hands or feet to eliminate air pockets, but don’t compact it too tightly, roots need oxygen, too!
5. Water Deeply and Consistently
After planting, give your new tree a deep watering, about 10 gallons per inch of trunk diameter at chest height. Repeat once per week, depending on rainfall and soil conditions.
For best results, use a watering bag that slowly releases water over several hours or even a day.
6. Mulch (But Don’t Volcano!)
Apply a 3-inch layer of mulch around the base, keeping it away from the trunk. Mulch piled up against the tree (sometimes called a “mulch volcano”) can trap moisture and cause the trunk to rot.
7. Stake Only If Necessary
If your tree leans or is exposed to strong winds, staking may be needed. Use:
- Stakes driven into firm ground
- Flexible ties with padding to avoid trunk damage
- Gentle tension to keep the tree upright without stressing it
Adjust as needed until the tree roots establish themselves, usually after one growing season.
Want a Professional Touch?
If this process sounds a little overwhelming, or you’d rather have professionals take care of it, LawnCare Plus is here to help. From site selection to planting and watering, our expert team handles every detail with care.
Call us today or fill out our online form for a free quote. We’ll make sure your new tree gets the best possible start.